
How the work typically runs
Typical Roof Repair Process
Six steps, in order, from the first look at the roof to a final inspection.
Most roof repair disappointments come from skipping the first step. When a patch is made at the spot a homeowner points to without tracing where water actually enters, the stain can return after the next hard rain. A roofing professional may begin by following the sequence below to help avoid that outcome. This page describes a typical process; the specifics of any repair are determined by the service provider who performs the work.
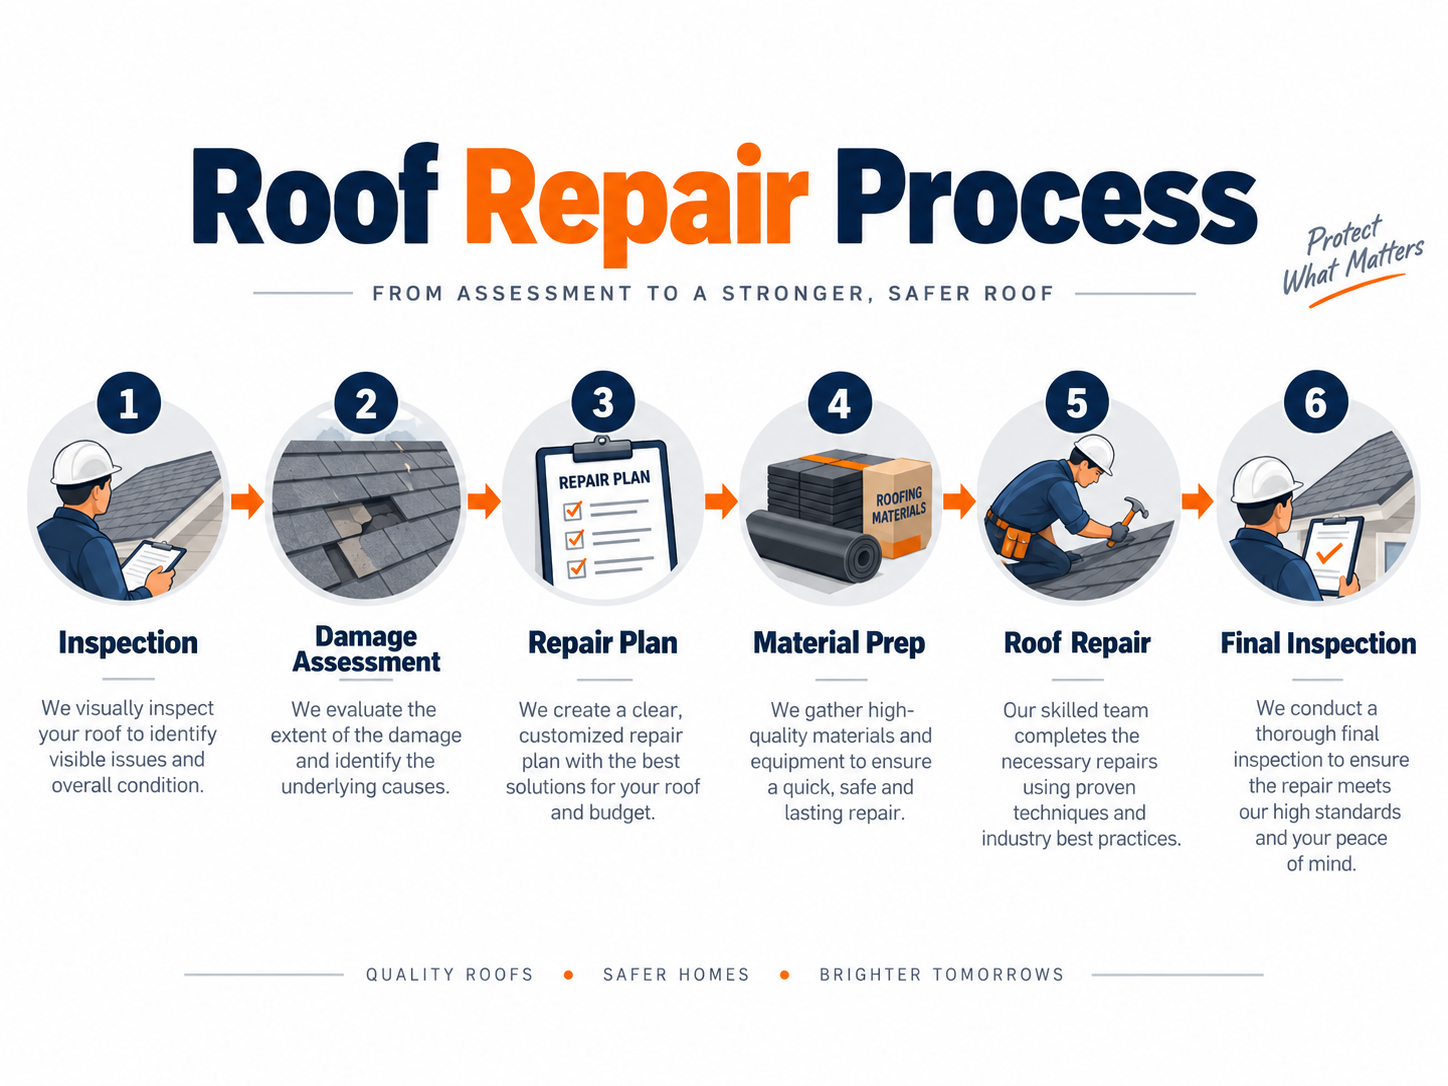
1. Inspection
The roof is examined as a system: covering, penetrations, flashing, valleys, edges, drainage and, where accessible, the underside of the decking. The goal is to find the entry point, not just the symptom.
2. Damage assessment
Findings are typically documented with photographs so the homeowner can see what was found and where. This helps establish whether the problem is a single failed component or part of a broader pattern of wear.
3. Repair plan
A roofing professional can explain what failed, what the repair involves, and what it does and does not address. Where replacement is the more sensible option, that is generally communicated plainly rather than papered over with repeated repairs.
4. Material preparation
Materials compatible with the existing roof system are sourced — matching shingle profiles as closely as available, the correct flashing metal, or the right membrane for a low-slope section.
5. Repair work
The failed area is opened up, any deteriorated decking is addressed, and components are replaced and correctly lapped so water sheds over the assembly rather than being held back by sealant.
6. Final inspection
The completed work is checked, the surrounding area is reviewed for anything missed, debris and fasteners are cleared, and the homeowner is generally shown what was done.
What can happen between the steps
Palm Bay weather can shape the timeline as much as the scope does. Roof work needs a dry, safe surface, and the summer pattern of fast afternoon storms means repairs are often scheduled around the forecast rather than around the calendar. Where water is entering the home before a dry window opens, a service provider may put temporary protection in place first, with the permanent repair to follow.
Material availability can also affect timing. Matching a shingle profile on a roof installed a decade ago, sourcing the correct flashing metal, or getting a compatible membrane for a low-slope section can add a short delay that often produces a better result than improvising with whatever is on hand.
Hidden damage is another variable. Decking that has been quietly wet for months is not visible from the surface. When an area is opened and deteriorated sheathing is found, the scope of work can change — and a homeowner should typically be told before any extra work is carried out, not after.
Get a roof repair estimate for your Palm Bay home
Describe what the roof is doing and the request can be connected with local roofing service providers who handle inspections and repairs.
Roof repair requests accepted 24/7.